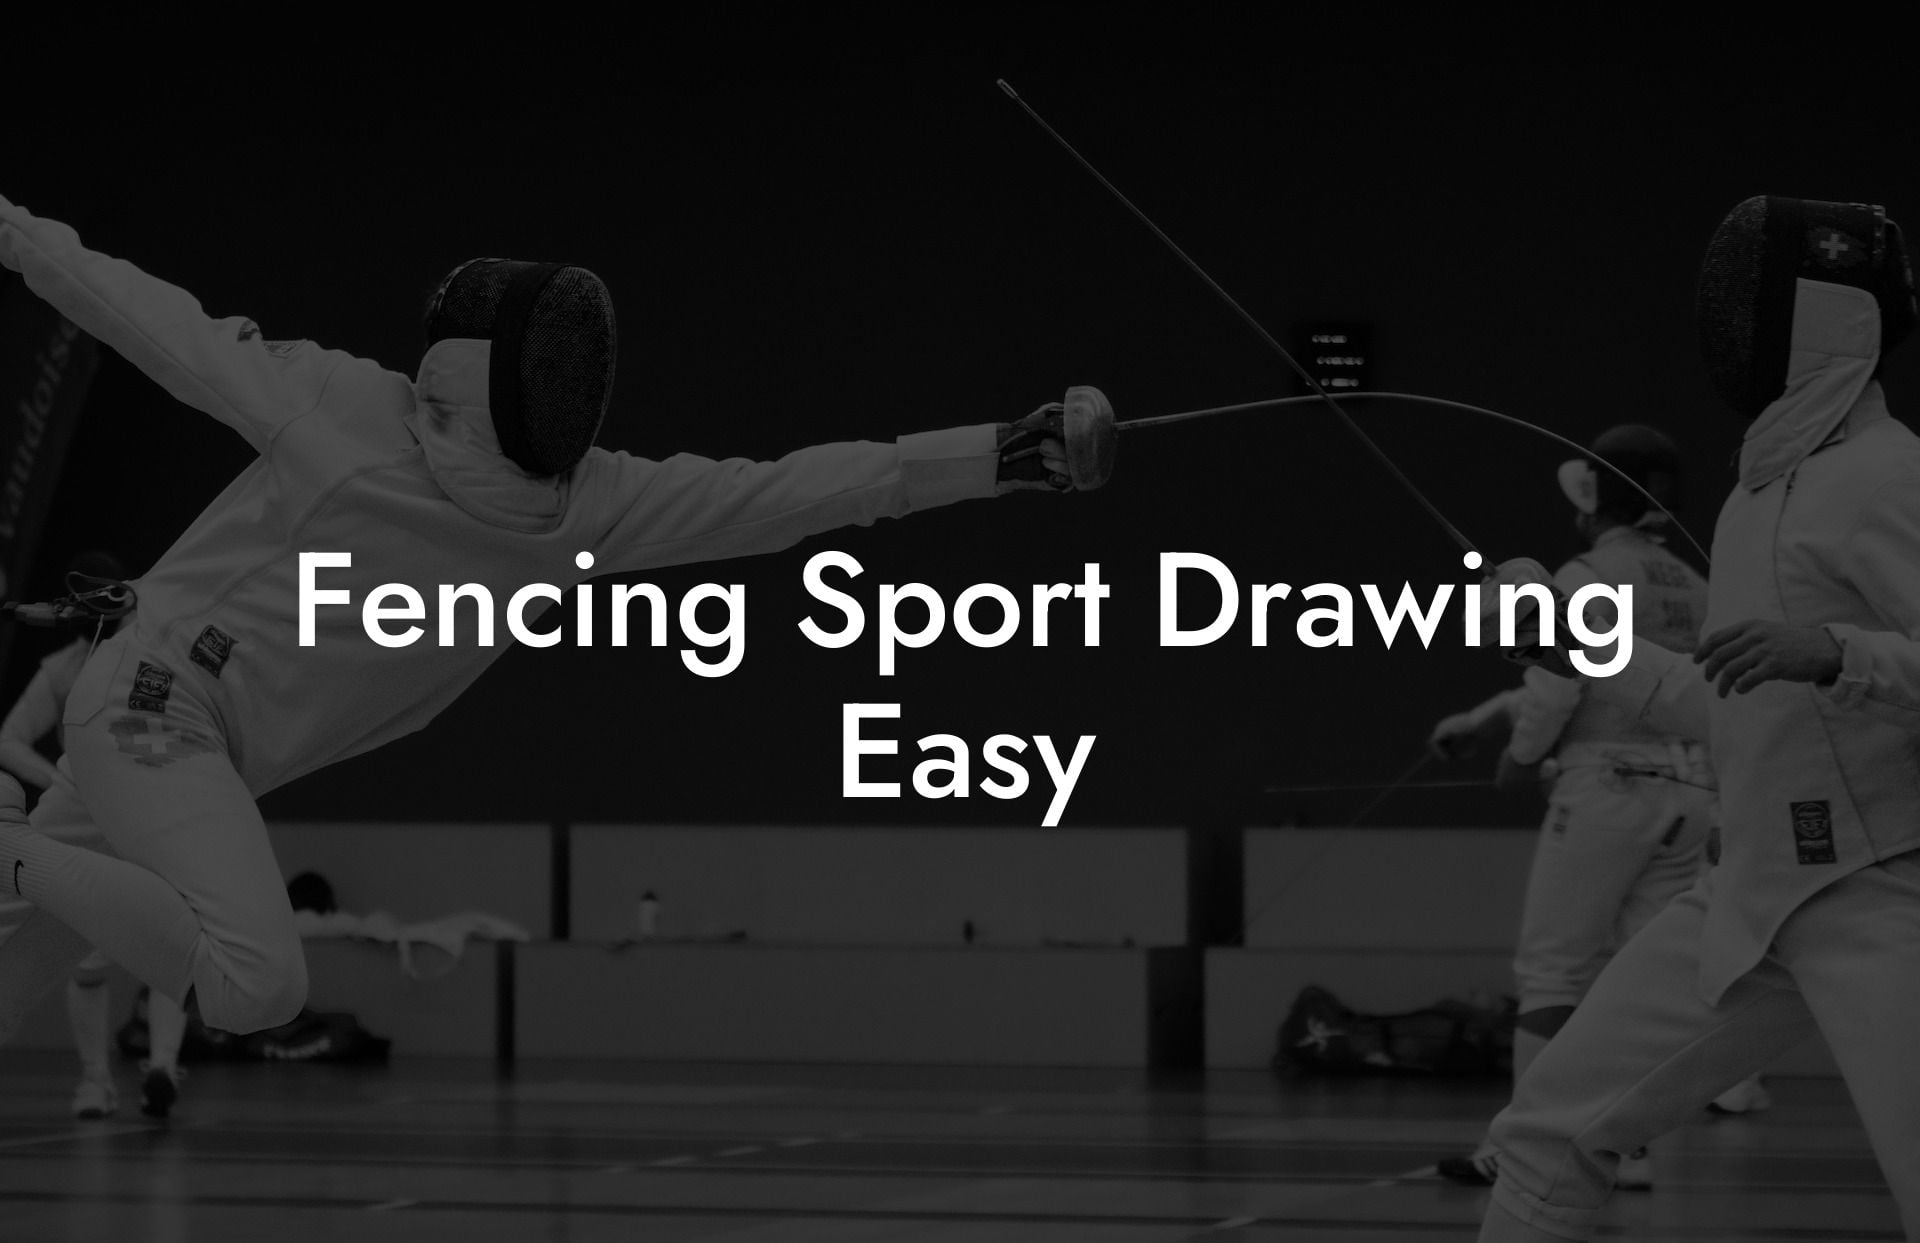
Discover the art of creating simple yet captivating fencing sport drawings that portray the elegance and excitement of this timeless sport! In this guide, we'll walk you through easy step-by-step instructions for sketching your own fencing illustration. Regardless of your artistic level, this tutorial promises both beginner and advanced artists an engaging activity while learning more about the sport of fencing.
Fencing Sport Drawing Easy Table of Contents
Step 2: Sketch a Basic Stick Figure
Step 3: Add Basic Shapes for Body and Gear
Step 1: Choose Your Pose
To begin, select a fencing pose that you find visually appealing and represents the dynamism of the sport. Consider choosing between the iconic en garde position, an intense lunge, or the triumphant victory pose. You may want to reference photographs of fencers or search online for inspiration.
Step 2: Sketch a Basic Stick Figure
Using a pencil, start mapping out your fencer's pose with a simple stick figure, focusing on the positioning of the limbs and body movement. Remember to maintain accurate proportions, as this will serve as the foundation of your drawing. It's important to get the posture correct at this stage, so make adjustments as necessary.
- Head: Begin with a circle for the head.
- Spine: Draw a curved line to represent the spine, showcasing the posture of the fencer.
- Arms and Legs: Add straight lines for the arms and legs following the selected pose.
Step 3: Add Basic Shapes for Body and Gear
Now that you have your stick figure template, start incorporating basic shapes to represent the body and fencing gear, such as the mask, jacket, and glove.
- Torso: Draw a rounded rectangle or oval shape for the torso, aligning it with the spine.
- Arms and Legs: Add tube-like shapes around the stick figure limbs to represent the fencer's arms and legs.
- Mask: Draw a dome-shaped oval around the head to represent the fencing mask.
- Jacket: Sketch in a loose, rounded square for the signature fenced jacket, covering the torso and shaping the shoulders.
- Glove: Outline a simple shape for the gloved hand holding the weapon.
Step 4: Add Details to the Fencing Gear
Once you've established the body and fencing gear, it's time to add in the finer elements that give character to your drawing. Draw seams and creases for the jacket, the mesh pattern on the mask, and add details to the weapon itself.
Step 5: Ink and Shade Your Drawing
With the outline and details in place, it's time to ink and shade your fencing sport drawing. Use a fine-tipped pen or marker to trace over your pencil lines, adding depth and dimension through hatching and cross-hatching techniques to create shadows and highlights.
Fencing Sport Drawing Easy Example:

Now, take a step back and admire your fencing sport drawing! Whether you're an experienced artist or a beginner looking to hone your skills, creating illustrations inspired by the world of fencing is a fun and rewarding experience. Don't forget to share your artwork with friends and family and invite them to explore the exciting sport of fencing. You can also head over to Anchorage Fencing Club's blog for more engaging guides and articles on everything fencing-related. Happy drawing, and en garde!

